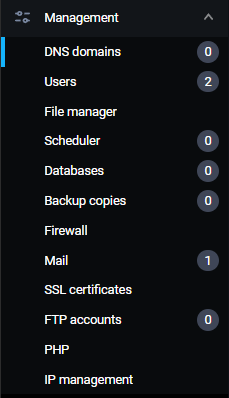
To open the DNS manager, go to Management -> DNS domains:
If you haven't already set up a DNS server, you'll see two options available - to connect external DNS service or to set up a local DNS server.

After you've set up your DNS server or connected to an external one, you'll see an empty list and a blue button +New domain:

By clicking on +New domain, a new page will open up where you'll need to enter the following information:
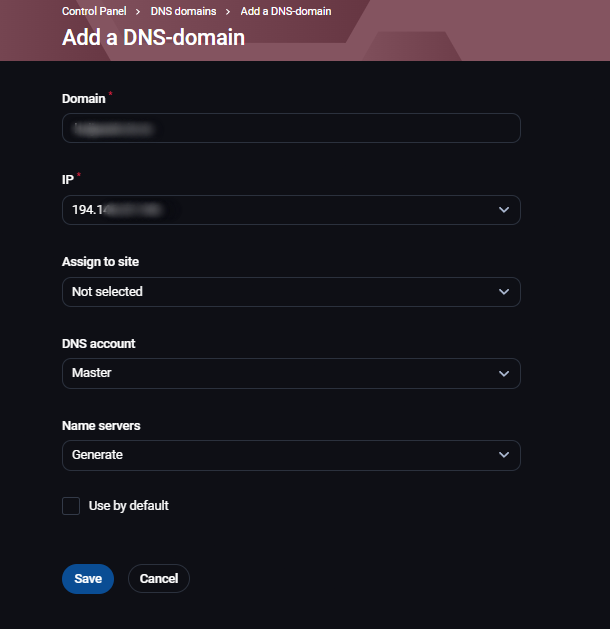
- Domain - domain name
- IP - choose an IP if you have more than one
- Assign to site - assigne the DNS zone to a website
- DNS account - choose a DNS account for this zone
- Nameservers - generate the nameservers
Saving this will create a new DNS zone, and it will be shown in the DNS domains page:
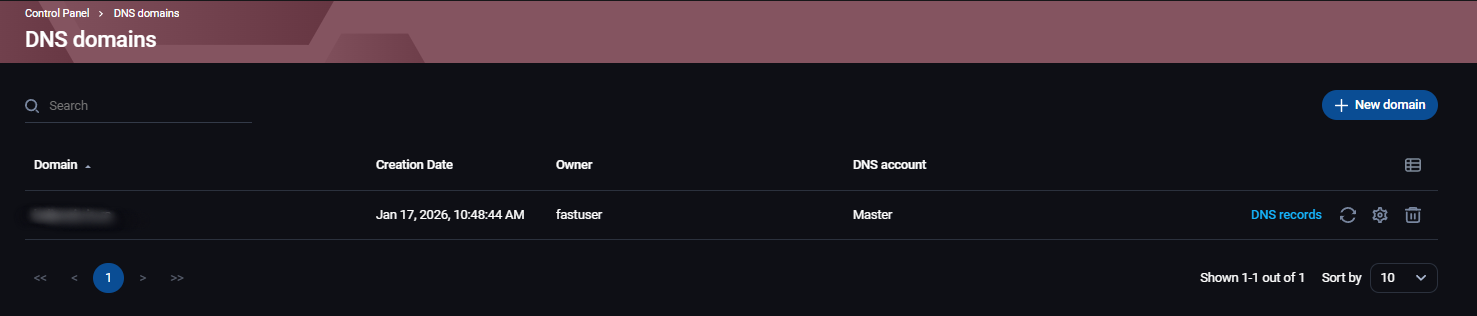
To the right of the domain name, you'll see some information and buttons:
- Creation date - date and time when the zone was created
- Owner - owner of the zone
- DNS account - DNS account connected to the zone
- DNS records - button that will open a page where you can see and edit DNS records
- Arrows in a circle - synchronization of the DNS records
- Gear - DNS zone settings
- Thrash can - delete the DNS zone
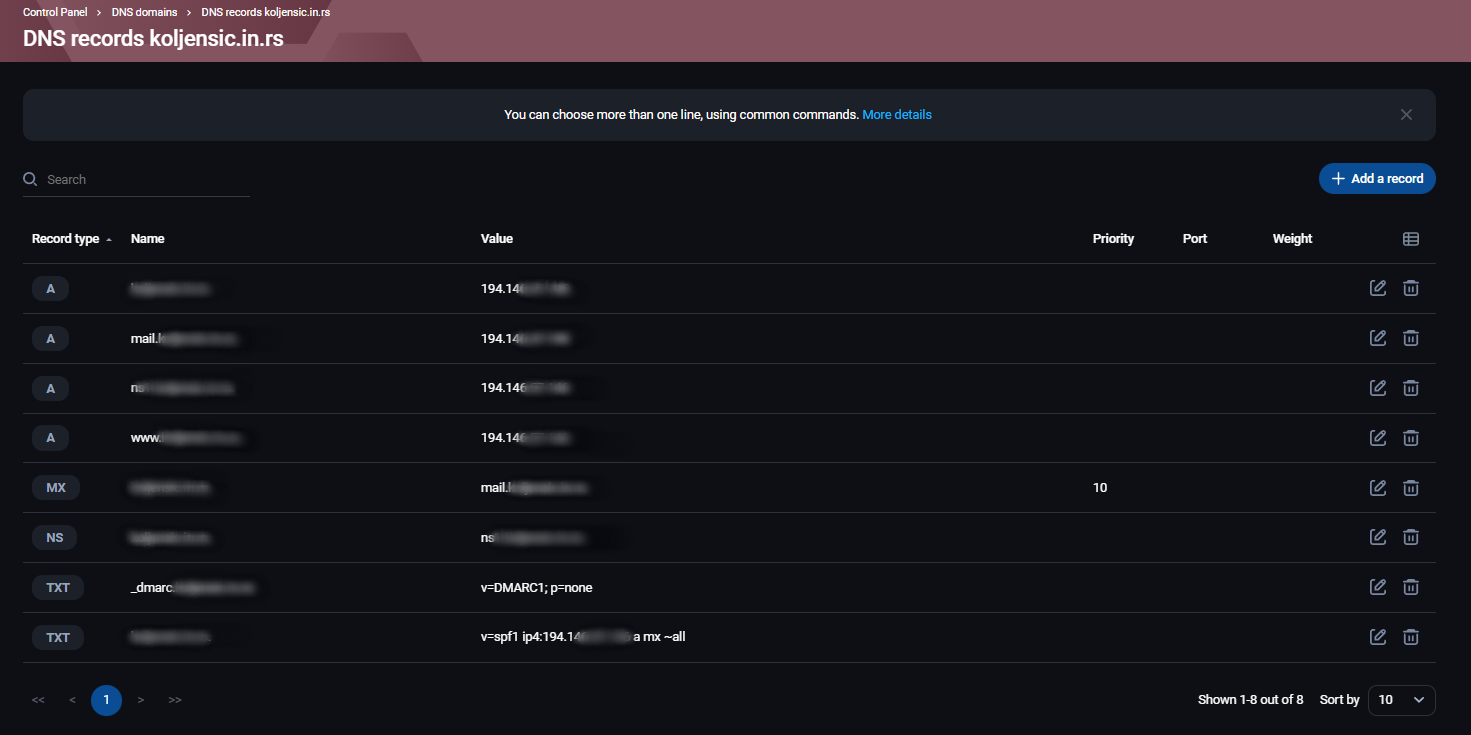
Going to the DNS records page will show all DNS records for that domain. On the right of every DNS record, there will be buttons to edit or delete it. Above them will be a button +Add a record for adding new DNS records:
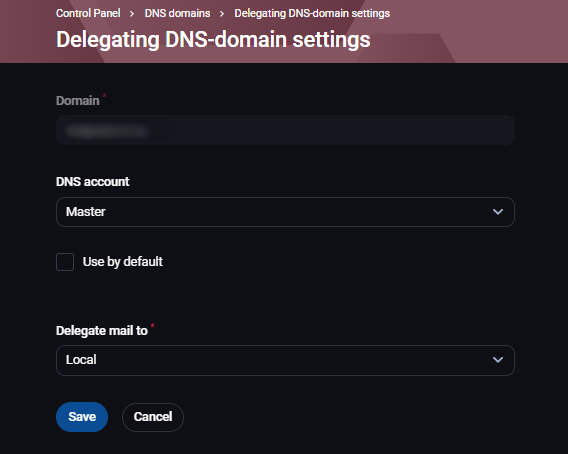
The gear button will open a page where you can change the DNS account connected to the zone, and set whether emails should work on the local or remote server.